Instead of having professional repairers do it for you, why don’t you try to finish the task by yourself? It is not an impossible task! You do not need specialized knowledge or high-level skills to remove the bead.
Scroll down the article to have a detailed guidelines on the whole process so that you can do it yourself.
What Is the Tire Bead?

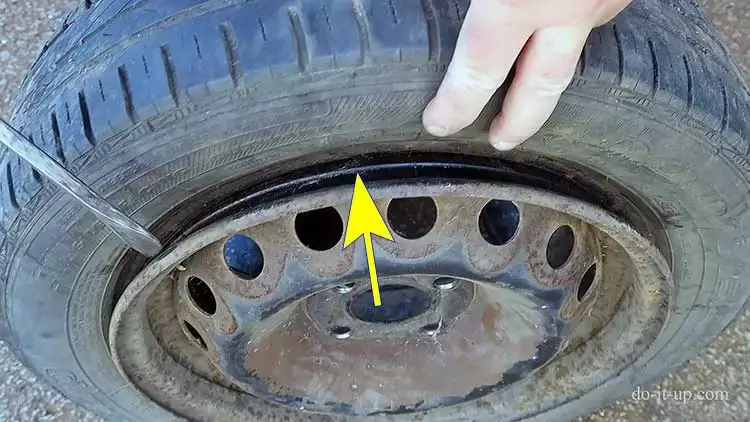
A tire bead is a rubber-covered steel cable holding the tapered edge of the tire to the wheel. Its function is to maintain the right position of the tire when it is on the move.
The common design of wheels for cars, bicycles, etc., with a small slot or groove where the tire bead sits. The proper inflation keeps the bead in the groove.
Why Remove The Tire Bead?
During driving, you can find dirt or debris on the solid surface and inside the tire. So, removing tire beads alleviates the difficulties of cleaning your car’s wheels.
Instead of asking for the support of a mechanic, you can do it yourself. Some might argue that “why to bother learning to do such things while there are always available services?”.
Some points below might make you reconsider your options!
- Independence: Taking off the bead from the rim is not that complicated. So, you can do it perfectly without going to any garage.
- Cost-saving: Completing such a DIY task reduces your vehicle’s maintenance expenses as you do not have to pay for a maintenance specialist.
- Learning a new skill: It is always advisable to equip yourself with simple techniques to maintain the good condition of a vehicle.
The Process of Breaking The Bead On A Tire
Learn how to break the bead on a mountain bike tire, an ATV tire, a lawn mower tire, etc. by following this instruction:
Step 1 – Put The Wheel On The Ground
Before breaking the bead on a motorcycle tire or other vehicle types of tires, you should place the wheel on a flat and hard surface.
The recommendation is to process the removal of tire beads on concrete rather than on grass or dirt. Using a tire changer to support the process is also a good idea.
Step 2 – Reduce Air Pressure In Tires
Why should we do it? The pounds per square inch (PSI) will be down thanks to the release of air in the tire. As a result, the separation of the bead becomes easier.
You can use a screwdriver, needle-nose pliers, etc., to rotate the cap on the valve stem counterclockwise. So, it can expose the metal pin in the valve’s center.
When the amount of released air reaches the standard level, it is time to raise the tool off the pin and stop the deflation. Don’t forget to replace the cap afterward.
In deflating the air entirely from the tire, using needle-nose pliers to unscrew the metal pin can accelerate the process.
Step 3 – Pull The Rim Off
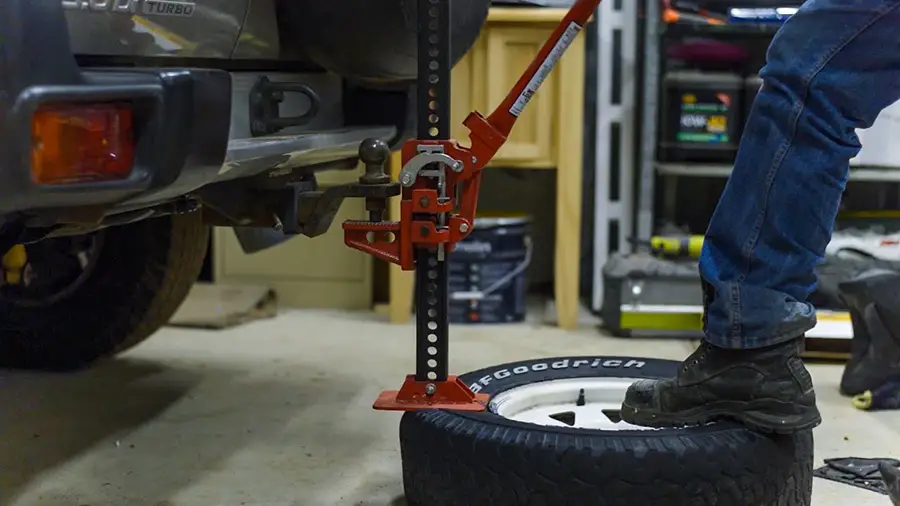
Once the pounds per square inch (PSI) are low enough, you can easily take the rim out. In the case of a stubborn tire bead, deflating it more or standing on the tire for more pressure generation can help.
The bead has a firm connection with the rim thanks to a steel cable and specialized glue. So, you can use a certain amount of specialized lubricant to smooth the process of sliding the rubber out.
Besides, it would help if you taped the tire’s metal to save it from being scratched throughout the procedure.
Step 4 – Have The Bead Apart
Once you finish pulling the rim off, you should push the rubber in the downside direction to separate the bead. You may damage the metal rim so remember to follow the seam to avoid it.
Conclusion
We all know that proper vehicle maintenance can keep your vehicle powerful and have a smooth operation throughout its usage.
Hopefully, the instruction on breaking the bead on a tire above can help you grasp the principle and the step-by-step process. Therefore, you can proactively take care of your vehicle.
Don’t follow the guideline blindly. Consider necessary modifications to fit into various types of tires


