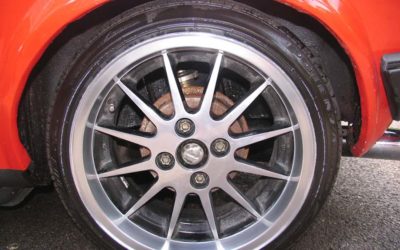
As you may be aware, numerous cars have tire studs during the winter. Driving in snowy conditions is dangerous due to slippery surfaces.
Thus, you may want to equip your vehicle with specialty winter tires. Or, at the very least, you have to provide studs for your tires. They give added traction and grip to the tires for a safe ride, mainly when you are about to decelerate, accelerate, or stop the vehicle.
Once winter has passed and summer has arrived, you can properly complete removing tire studs on your own with no prior experience required if you follow our guidelines below.
What Are Tire Studs?
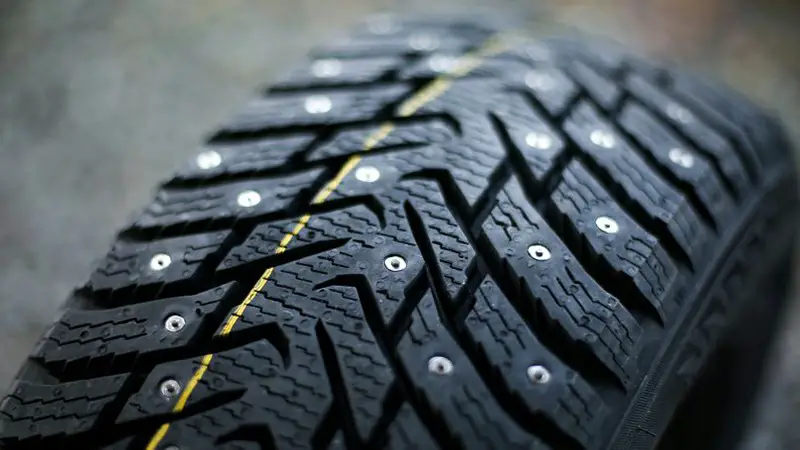
Studs for tires resemble short, fat nails with a tungsten pin on top and a flat head look on the bottom. They are put plain into holes molded into the tread pattern during the tire’s manufacturing process.
A hydraulic stud gun’s expanded fingers are placed into the molded holes to inflate the tread rubbers, implant the stud, and then withdraw. It enables the tread rubber to almost return to the initial position and lean against the stud, and secure it.
Every tire typically contains 80 or 100 studs depending on the tread pattern and tire size.
What Is The Purpose Of Studded Tires?
Winter tire studs are basically for snow tires. The studded tires will provide you a better grip on snowy and icy conditions. They will also offer your tires extra grip in some other weather conditions.
No-stud tire technology has recently become popular. That said, no-stud snow tires could only give traction due to their improved winter gripping.
In other terms, they have such a distinct design that allows them to interact with icy or snowy roads. However, in other circumstances, studded tires are much more beneficial and safer.
While studded tires interact with roadways and road conditions, they may also dig into frozen precipitation similar to an anchor. As a result, you will fully utilize these studs when you brake or accelerate. That is the reason many drivers choose to use stud tires over specialized tires.

View more: How To Remove Tire From Rim
Can You Remove Studs From Tires?
If your tires are fairly new and have a tread depth greater than 7/32-inch, removing studs from tires is undoubtedly worth your time and effort.
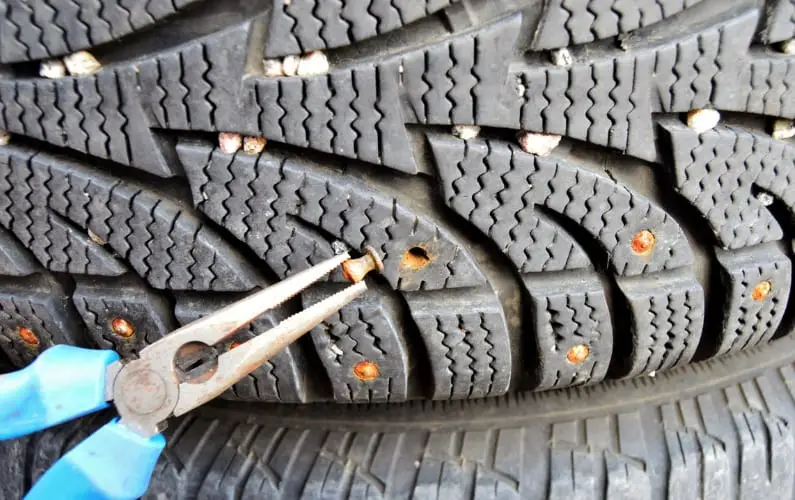
It’s also possible to do the job with the studs lubrication on an inflated tire, gripping the tip of every stud with pliers, and twisting while you take the stud off slowly. It is advisable to use the same lube for tires used to mount tires, as other lubricants might hurt the rubbers.
Suppose your tires are older and have tread depth under 5/32-inch. In that case, you still can remove the studs following the same procedure above, but remember that the reduced tread depth would already have considerably impaired the tires’ capacity to bite into snow to offer decent winter traction.
How To Remove Studs From Snow Tires Safely?
Here comes the most critical section of this post – these tire stud removal instructions. Follow 4 steps outlined on how to remove tire studs below to safely detach studs from your tires:
View more: UTQG Rating meaning
Step 1: Take Off The Tires
Do not attempt to remove studs from tires that are still in your vehicle. Trust us as it will make your task more challenging. After all, we’re guessing you still need to take the tires off your vehicle to conclude the process.
To remove the tire, use a jack or a tire iron. With this phase, you should get a type of mount to lay your vehicle on for safety while you work with the wheels off.
Step 2: Unscrew The Studs
Unscrew studs step is essential since it might make the following procedures easier and save you from having to apply too much effort or risk damaging your tires.
To make things easier to remove studs from snow tires, lube the studs first. As mentioned, it would be preferable if you could use the same lubricant used for tire mounting. Other oil types may have an unfavorable effect on the tire materials.
Then, grip the tip of the loosening stud with your pliers, twist it, and pull out of the tires. This process might take a while, but there’s no other option. And you must repeat this procedure to entirely remove tire studs.
Now you are done with removing tire studs. However, this is not the end of the process; you must carefully inspect the tires before reinstalling them to the vehicle.
Step 3: Inspect Your Tires For Any Punctures
After you’ve removed all the studs, it pays to inspect the tires to know if there are any punctures.
You can test it using one of the following methods:
- Dip your tires throughout the water tank to see if there are any holes.
- Spray cleaner for windows on surfaces to examine whether any air bubbles are present. They will show you where the gaps are. The appearance of persistent bubbles indicates that the removal punctured the tire, enabling air to escape.
If you do not identify any holes or bubbles, wash the tires and refill them with air, using the manufacturer’s recommended air pressure.
Step 4: Install The Tires
Now, it’s time to remount your tires. Then remove your vehicle from the mounting location. For the next 2 or 3 weeks, you must perform maintenance weekly to interfere timely if there are slow tire leaks.
Final Thoughts
Everything you need to know about how to remove tire studs is right above. When you own a car, we recommend that you have a basic understanding of these procedures so that you can complete them at home and save some money.

